First Application Launch
Installation
Install the application through Google Play Store.
?? User Account Setup ??
Logging into the Application
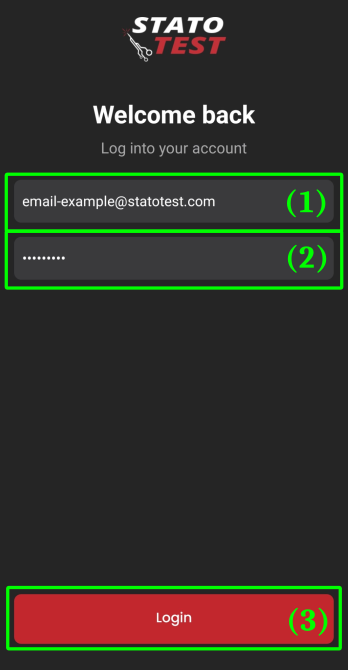
- Fill in your login details
- email of the user (1)
- password of the user (2)
- Click on the "Login" button (3).
Initial Setup
Upon the first launch, the application will request necessary permissions for its operation.
Without the required permissions, the application cannot function properly.
| First Dialog | Second Dialog |
|---|---|
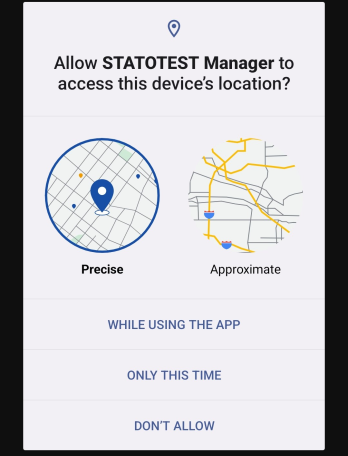 | 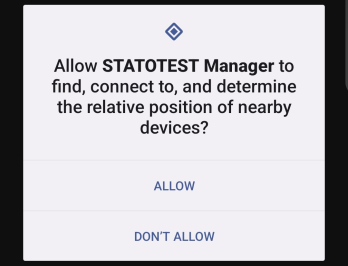 |
Complete overview of permissions the application requests...
Introduction Screen
After successful login and "acceptance" of all permission dialogs, the application redirects to the following screen - "Company Selection".
This is part of the sequence of steps for selecting the desired Measurement Point (MP) - we will delve into this in detail in the next chapter of the tutorial.
Navigation in the Application
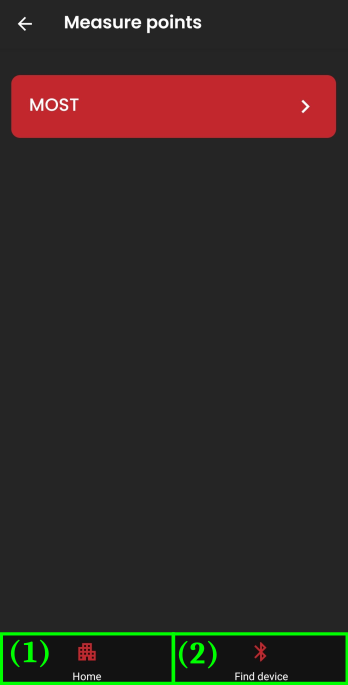
The navigation is located at the bottom of the application, visible after a successful login.
It contains two main items:
- Home (1)
- directs to a sequence of screens for selecting Measurement Point (MP)
- Company Selection
- Construction Selection
- Measurement Point (MP) Selection
- Screen displaying information about the selected Measurement Point.
- always displays the last visited screen from this section
- if such a screen does not exist, it displays "Company Selection"
- directs to a sequence of screens for selecting Measurement Point (MP)
- Find Devices (2)
- directs to a screen used for Bluetooth communication with devices
By successfully logging in, the entire Statotest Manager application with all its features becomes accessible.
In the following tutorials, we will gradually go through each of them, introducing the screens that the application offers, and the correct way to use them.