Data Export
Export data from selected entities (Organization → Construction → Measurement Point), for a chosen time interval and data type, then download to Excel (XLSX) or CSV. You control which columns to include and how to structure the output.
Before You Begin
To add a data source, select:
- Organization — required
- Construction — required
- Measurement Point — a specific MP or “All” (export from all MPs in the selected Construction)

All roles can access and use the Export route.
Exports include both UTC and Local time/datetime columns. Intervals are processed reliably across zones; you don’t need to convert times before export.
Quick start
- Select Organization, Construction, and Measurement Point (use “All” MPs if you plan to join data later)
- Set the From–To interval
- Pick a Data type (e.g., Acceleration, Voltage, Unit)
- Click Add data source — the series appears in Selected data
- Open Export settings to choose columns, split channels, and (optionally) join multiple MPs
- Show Preview (optional)
- Export to Excel or CSV

Data types
The available list depends on the selected Measurement Point(s). Common types:
- Acceleration
- Inclination
- Weather
- Environment
- Voltage
- Raw
- State
- Strain
- Coordinate Local
- Coordinate JTSK
- Unit
- Device
Only data types available for your chosen MP(s) can be added.
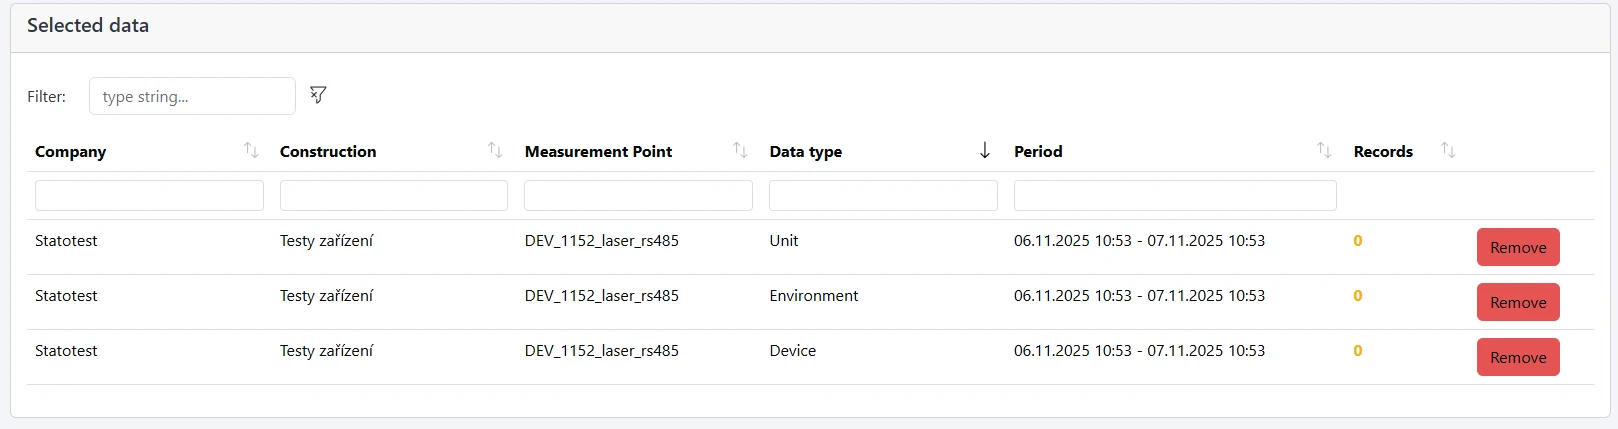
Selected data (what you’ve added)
The Selected data table lists every added combination (MP × Data type × Interval) with a record count. Use Remove to delete any combination before exporting.
Export settings
Settings are organized into tabs — one tab per data type and three metadata tabs: Company, Construction, Measurement Point.
- Choose columns: tick only the fields you want to include in the export
- Split channels into columns: for multi‑channel data, place each channel in its own column (applies to all data types)
- Join data (merge MPs): join multiple MPs into a single table aligned by time
- Interval (seconds):
- 0 = merge only rows with the exact same timestamp
- higher than 0 = use time windows of the specified size
- Interval (seconds):
- Combine data (window aggregation): available when Join is enabled with Interval > 0; aggregates data within the fixed windows
- Split units into columns: for Unit data, split values into separate columns by unit type

If you want one combined table, select “All” MPs, add the Data type, then enable Join data with a suitable Interval.
Exporting entity metadata
To export Company/Construction/Measurement Point metadata, open their tabs and enable the columns you need. Those columns will be included in the output like any other tab.
Derived columns
Some exported values may be derived (e.g., dew point, evaluated voltage). These calculations can be configured per Organization/Construction. The export includes the result columns when available.
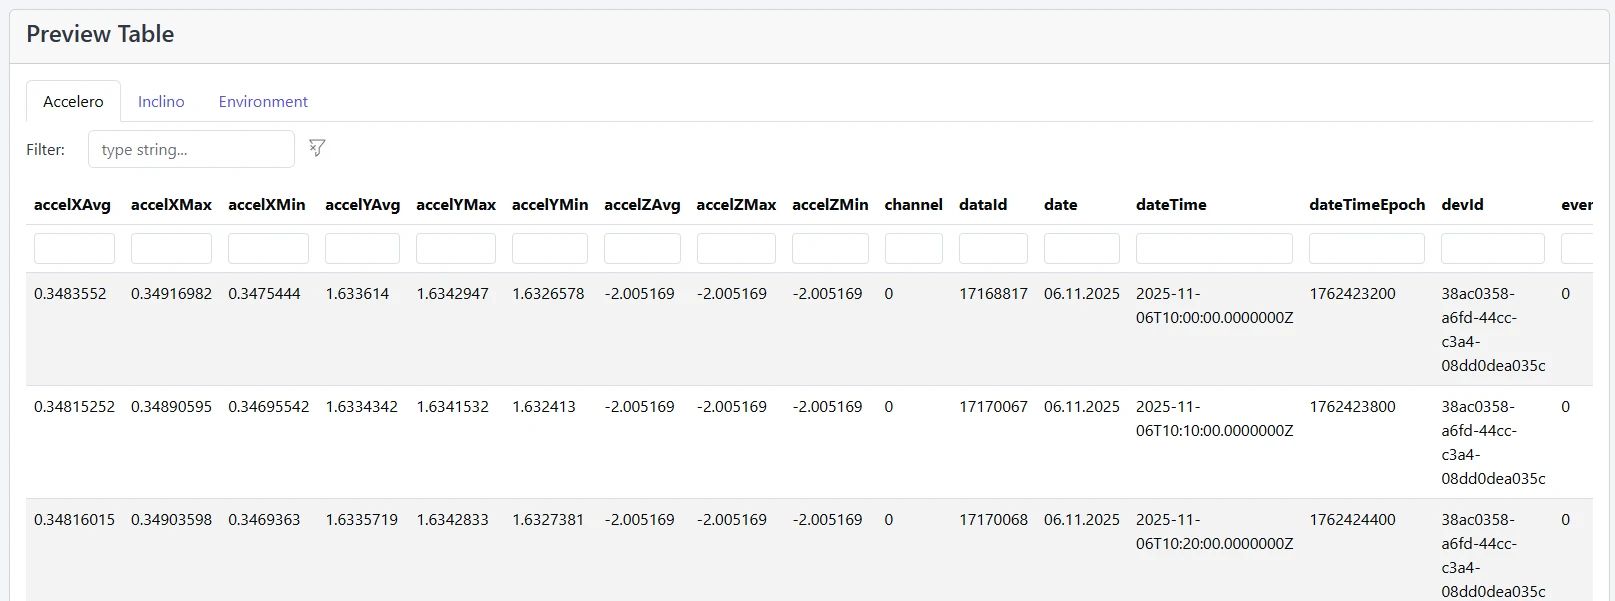
Preview
Click Show preview to see a tabbed preview for each data type/MP based on your current settings (columns, split, join). Use this to confirm the structure before you export.
Export files
- Excel (XLSX): downloads a workbook; sheets are created per data type (and per MP when not joined). Very long sheet names are shortened to fit Excel limits.
- CSV: appears when enough data is selected or when you export joined data; each CSV file contains one data type. You can rename files after download.
Rows are exported in chronological ascending order.
Performance tips
- You can export any interval, but exporting many months can take a long time (10+ minutes). Prefer narrower intervals or fewer columns when possible.
- If a data type has no records in the chosen range, it won’t be exported.
- Use Preview to validate your column structure before exporting.
Troubleshooting
- Data type list is empty
- Ensure Measurement Point(s) are selected; the list only shows types available for those MPs.
- CSV button not visible
- CSV becomes available when enough data is selected or when Join data is enabled.
- Export is slow or times out
- Reduce the interval, remove unnecessary columns, or export one data type at a time.
- No rows in the output
- Extend the time interval or verify that data exists for the selected type and MP(s).