Measurement Point basics
A Measurement Point receives and stores data sent by devices. Multiple devices can send data to one Measurement Point over time. Historical data remains even if no devices are currently assigned.
Measurement Points always belong to a Construction. Manage them from each Construction card in Constructions overview.
Global Admins, Organization Admins, and Construction Admins can add, edit, move, and remove Measurement Points. Users and Guests have read‑only access.
You can move a Measurement Point only between Constructions inside the same Organization. Moving does not delete historical data.
Viewing Measurement Points
Use Show Measurement Points on the Construction card to display the table.

Table actions per row:
- Data — opens Charts
- Edit — open edit modal (parameters, images, location, move to another Construction)
- Delete — soft-delete confirmation
The Construction card shows devices with communication issues (no data for 2+ days). This threshold is fixed for now.
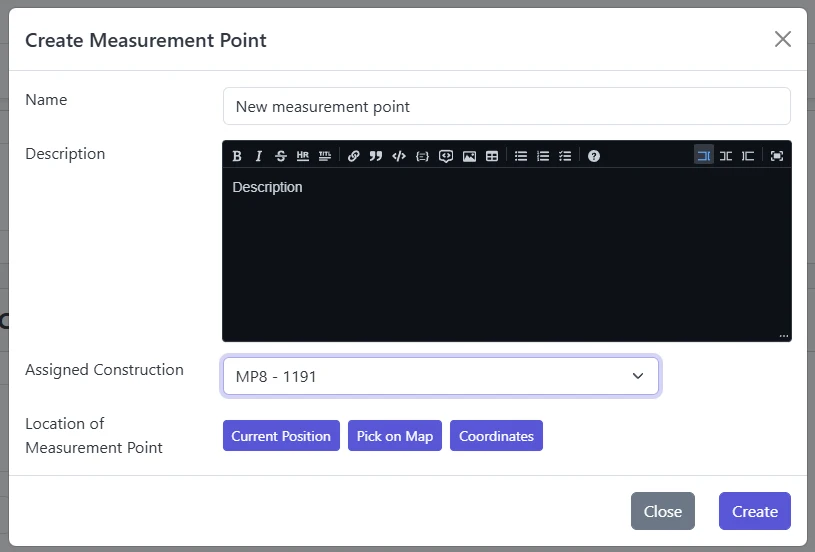
Create a Measurement Point
- Click Add Measurement Point on the Construction card
- Fill required fields:
- Name — minimum 1 character, unique within the Construction
- Location — latitude & longitude (altitude optional)
- (Optional) Description (Markdown supported)
- Click Create
Altitude is optional. Provide it if elevation matters for interpretation of readings.
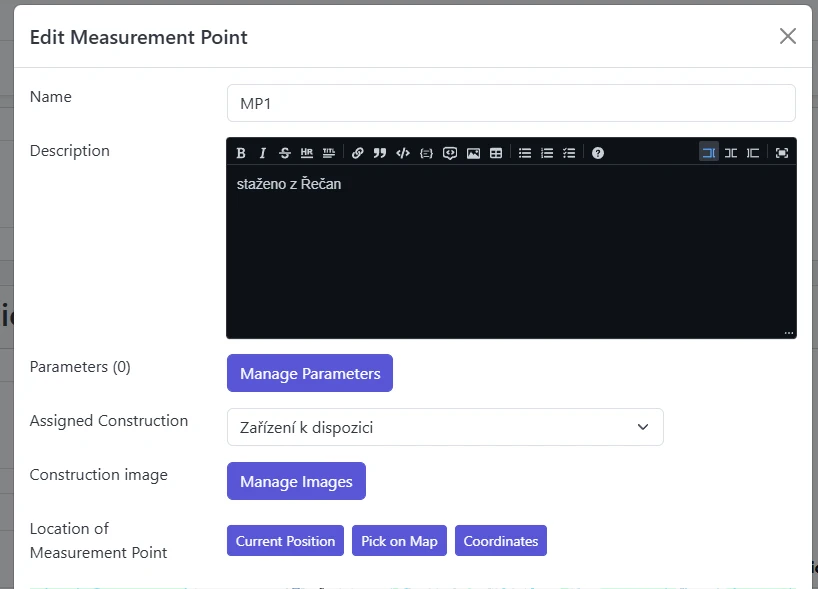
Edit a Measurement Point
From the table or Construction card:
- Click Edit
- Update name, description, location, or assigned Construction (same Organization only)
- Open Manage Images (if already created)
- Open Manage Parameters to adjust display/scaling (see Manage MP params)
- Save
Parameters
Use the Parameters button inside the edit modal to adjust data naming, units, filtering, and type-specific behavior. See:
Delete a Measurement Point
Choose Delete and confirm.
Deleted Measurement Points and their data stop appearing in the portal but remain stored. Contact administrators to restore if removed accidentally.